Search This Blog

Thursday, June 28, 2018

Strengthen Your Immune System

...and Quit Getting Sick!


The common cold. It's inconvenient and annoying. And if you have kids in the house, it seems to come around way too often.

You can try to limit your exposure to viruses, but the truth is that most people are exposed all the time. Some folks get sick and others don't. The reality is that your ability to fight off infection has more to do with your own immune system than with who or what you come into contact. Our bodies are made to fight off viruses and other infections. But most people have compromised their immune system through bad nutrition and unhealthy habits.

Some

 practical lifestyle changes ...

can insulate you against the common cold and other viruses and make you healthier in the long run. Now, I say these are practical tips, but not all of them are easy. I've listed them roughly in order of importance.

Quit Eating Sugar:

This one step can make all the difference to your immune system. But let's be honest here; this is a difficult life adjustment. Cutting out sugar in all it's forms (honey, syrup, most fruit, etc.) is kind of a big deal. For starters, sugar is one of the most addictive substances available. For another, there is very little support in our lives for this decision. I quit eating sugar several years ago and I still have friends who are personally offended when I (politely) decline their sugary, homemade desserts. You have to make the leap here and just do it. Commit to it and get over the cravings. You won't be sorry.

I recommend finding information about the evils of sugar in books and on the internet. Keto and Paleo diet websites are a good place to begin. By arming yourself with information on why sugar is a poison to your system, you'll have an arsenal of reasons to stick with this lifestyle change.

Drink Plenty of Water:

Most people live their lives in a perpetual state of dehydration. The general rule of thumb for how much water to drink is calculated by dividing your body weight in half and converting the number to ounces. For example, if you weigh 120 lbs, half of that is 60 - so you need 60 ounces of water each day. If you are exercising or in the heat, you'll need more. 

You shouldn't drink water with food as this dilutes your digestive enzymes. One trick to get enough is to drink a quart or more of water right when you get up. This is easiest to do before you eat or have your morning coffee or tea. 

Water will help hydrate your cells so they work at peak efficiency and also aids digestion. Both of these operations insure that your body is flushing out toxins that can make your immune system sluggish.

Get Adequate Sleep:

Sleep restores the body and mind which accomplishes 2 things. All your organs can detox and reset giving your body tissues what they need to fight off invaders. You also get an emotional break which lowers your stress levels and allows your hormones to be used to keep you healthy rather than to survive emotional turmoils of the day.

Don't compromise on the 8 hour (or more) sleep rule. It may feel like you need to cut your sleep time short to enable you to check everything off your to-do list but in the long run, you'll be more efficient when you get an adequate amount of sleep.

Tongue Scraping:

This is a trick that most folks don't know about. Your tongue catches and accumulates all kinds of toxins to keep them from entering your system. Tongue scraping each morning helps rid your system of pathogens daily. You'll need to purchase a tongue scraper for this and each person in the family should have their own. It's easy to use and pretty easy to work into your morning routine. Just do it before you brush your teeth every morning.


Gargle:

 Gargle with plain water and do it every time you brush your teeth. After your tongue, your throat is the next line of defense against viruses and many bacteria. Tonsils and adenoids are located in the throat for this very reason. Additionally, the throat glands are an exit point for germs and toxins that the body is trying to eliminate. Gargling gently cleanses this area of our body and helps expel what our throats and the back of our mouth have trapped. Be aggressive about this and make a lot of noise doing it to ensure that you get as deep into the throat as possible.

Use a Fingernail Brush

Regular hand washing is good but scrubbing under and around your fingernails once a day. I like to do this in the evening. This way, anything I've picked up over the course of the day gets washed away before I climb into bed. The area underneath your fingernail harbors way more bacteria than the rest of your hand. Regular hand washing with soap is important but, based on bacteria count, scrubbing your fingernails is literally hundreds of times more important!

Use a Neti Pot

A neti pot flushes your nose and sinus cavities. This area, like the tongue and throat, helps stop germs before they enter your body as well as expel toxins from inside the bloodstream and organs. Occasional flushing helps move pathogens out before they have a chance to grow, invade or spread.

You can purchase a neti pot at drugstores or online and there are plenty of instructions online for how to use them. Unless you have a chronic sinus condition, daily use of a neti pot isn't necessary. I use mine every week or two; more often if my sinuses seem congested.


That's it! 7 practices to add to your life. Turn them into habits and you'll be sure to reduce (or eliminate) the occurrence of illness in your home! 

Thursday, June 7, 2018

Slow Cooker Chicken and Spinach

Like many slow cooker recipes, this one takes a little preparation, but it's great to come home to a (mostly) prepared meal when you need to be away right before supper!

The recipe serves 2 but I add extra chicken so that I have leftovers to make other recipes. You can save money by purchasing a whole chicken and cutting it into pieces yourself. 

This Slow Cooker Chicken and Spinach recipe can be the start of a meal progression that spans several days if you plan ahead. Here's an example of what I mean:

Day 1: Crockpot Chicken and Spinach (with extra chicken.)
Same night: Chicken bone broth with added pieces.
Day 2: Chicken Salad with leftover chicken.
Day 3: Chicken Vegetable Soup.

I'll expand more on this in another post. For now, lets look at what you need for the

Chicken and Spinach Recipe:


1 Whole Chicken, cut up (or about 8-9 pieces of chicken.)
Salt & Pepper
1 large onion, chopped
1 T. butter or lard
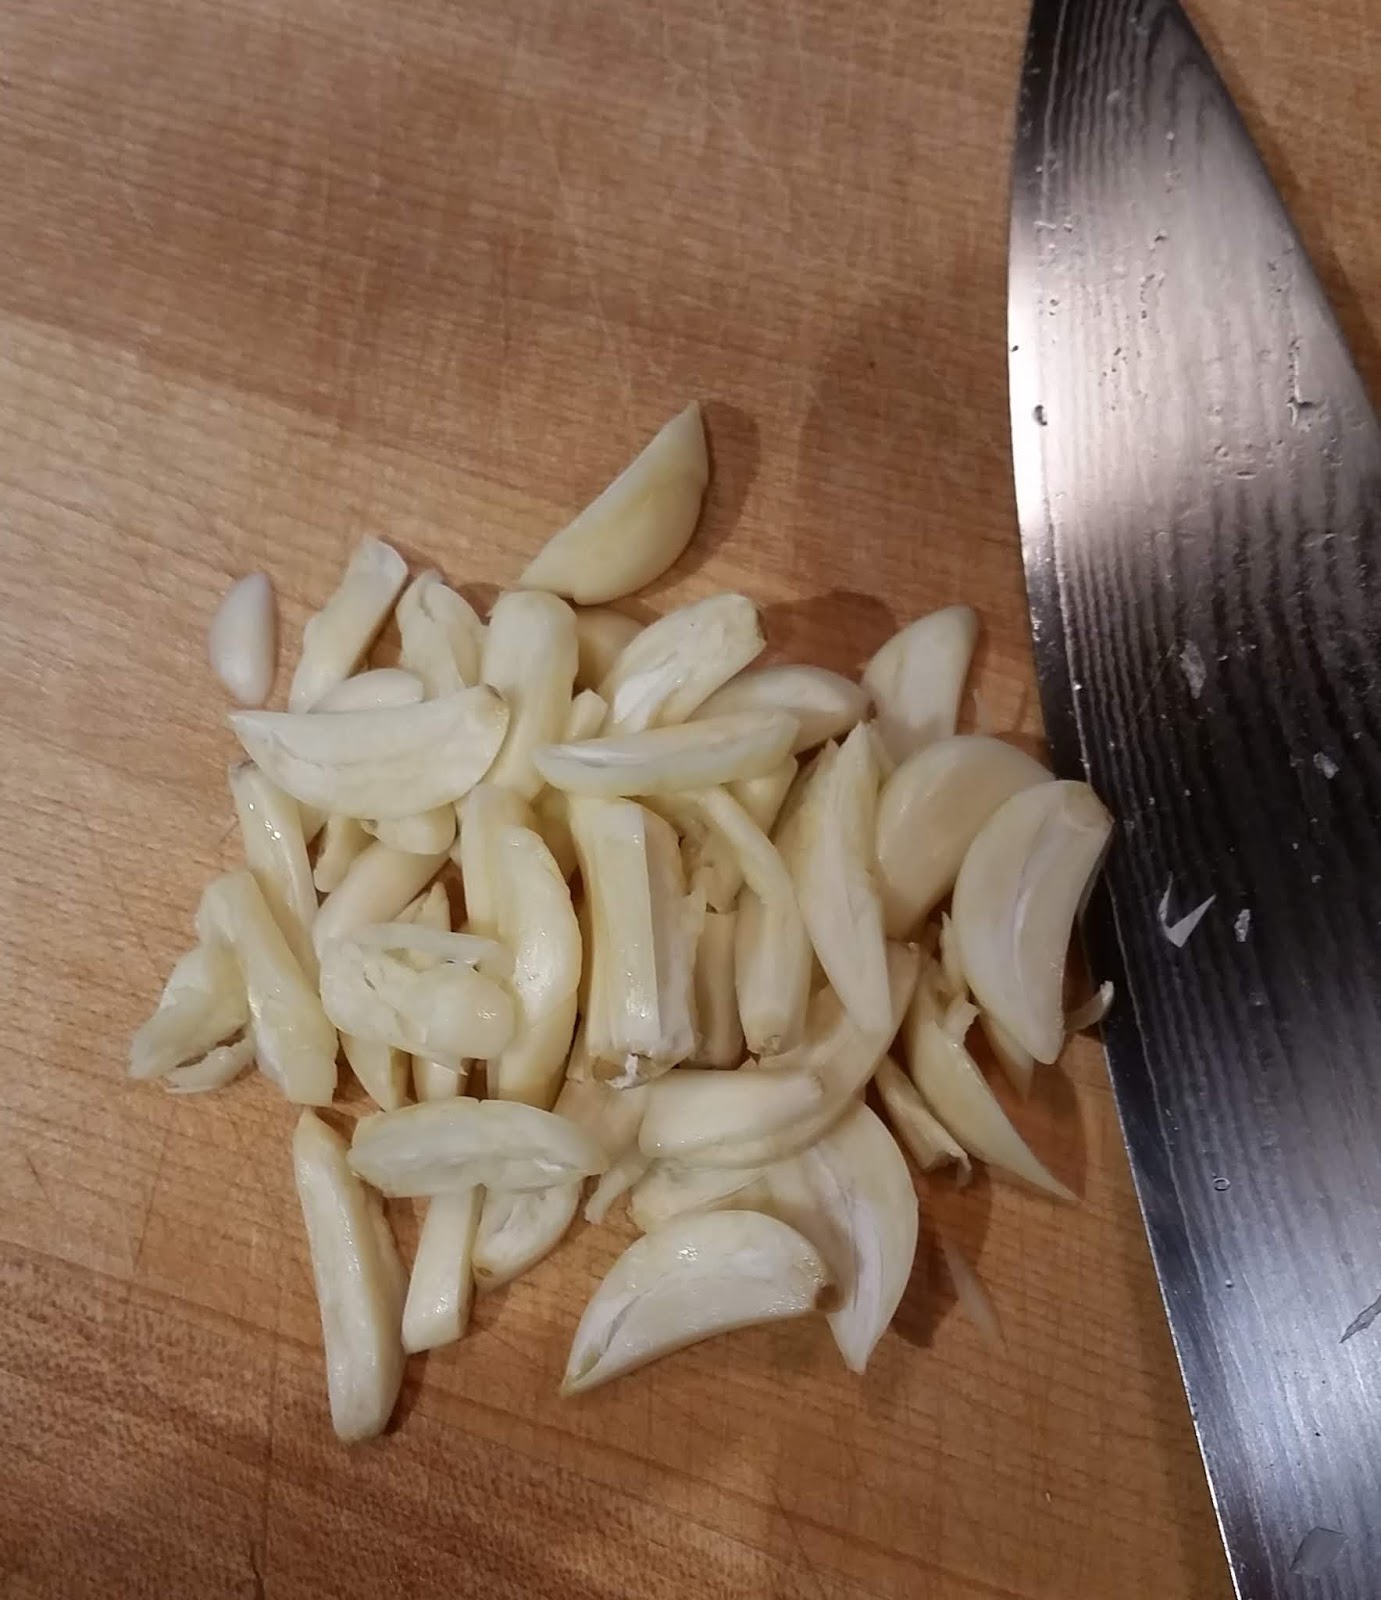
8 garlic cloves, sliced
4 t. tomato paste
1 t. paprika
1/4 t. crushed red pepper
1/2 c. water
8-12 oz. fresh spinach
1/2 c. raisins
Juice of 1/2 lemon
2 T. sunflower seeds (pecans or pine nuts work as well.)

Cut up chicken and generously season pieces with salt and pepper.

Heat butter or lard in a frying pan. Add chopped onion and cook for a few minutes. Add sliced garlic and cook until starting to brown.
Sliced garlic is a nice alternative to crushed or minced.

Add tomato paste, paprika and red pepper to frying pan, stir to incorporate. Add 1/2 c. water and mix well.
Pour tomato mixture into slow cooker. Add chicken pieces, turning them over to coat with sauce. Cook on low about 3 hours.
Pull out chicken and add fresh spinach to slow cooker, stirring to coat with remaining sauce. Mix in raisins. Lay the chicken back in the cooker on top of spinach. Cover and cook on high another 20 minutes or so.
Remove chicken to a serving plate and stir lemon juice and nuts into spinach. Serve.


The Best Homemade Mayonnaise


If you are interested in making your own

mayonnaise

 this is the best recipe and method I have found.
I'm not going to reprint it; just visit this link!

It's the best!

You'll love it!

https://howtofeedaloon.com/classic-homemade-mayonnaise/

(This mayonnaise is great in my Ranch Dressing recipe or Chicken Salad!)


Friday, May 18, 2018

Crock Pot Ratatouille

Just in time for the burgeoning farmers' markets, you'll want to try this

Ratatouille!


This recipe does involve a lot of chopping! Since you can make it ahead it's a great choice for a busy day!

One recipe will serve 4 people as a main dish and 6 as a side veggie, so cut it in half if there are only 2 or 3 of you.

1 med. eggplant (about 1 lb.) cut into 3/4" pieces.
1 1/2 t. Salt.
3 T. Olive Oil.
2 T. Tomato Paste.
1/4 t. Pepper.
5 Roma Tomatoes, diced.
2 med. zucchini and/or yellow summer squash, cut into 3/4" pieces.
1 lg. Sweet Pepper (red, orange or yellow) cut into 1/4" pieces.
1 lg. Onion, sliced into half-moons.
4 lg. Garlic Cloves, sliced.
1 t. Dried Thyme (or 1 T. fresh, chopped.)
1 Bay Leaf.

Fresh Basil Leaves for garnish.

Place the eggplant in a colander set over a bowl and toss with 1 t. of the salt. Allow to sit and drain for at least 30 minutes. Rinse with cold water. Lay the eggplant out on a towel and pat dry.

Whisk together oil, tomato paste, 1/2 t. salt and pepper.

Combine the drained eggplant, tomatoes, squash, sweet pepper, onion, garlic and thyme in a slow cooker. Add the oil and tomato paste mixture and stir to incorporate. Cover and cook on low for 4 hours. Uncover and cook 1 hour more to cook down some of the liquid.

Remove the bay leaf. Garnish with Basil (whole or sliced leaves.)

Taco Seasoning

OK, I don't know why I wasn't on this years ago, but in case someone out there still doesn't make their own

Homemade Taco Seasoning...


...here is a recipe to start with! 

These measurements make about 2 ounces, so double it to fill up a half pint jar. Use about 2 Tablespoons of the mixture per pound of meat when cooking.

As always on Practically Margaret, change up the ingredients and quantities to suit your own tastes (or to accommodate what you actually have in the cupboard!) Keep it practical and stress free!


2    T. Chili Powder
1    T. Ground Cumin
1    T. Salt
1/2 T. Pepper
1/2 T. Paprika (smoked, sweet or regular)
1     t. Dried Oregano
1     t. Garlic Powder
1/2  t. Onion Powder
1/8  t. Cayenne Pepper


Place all ingredients in a jar and shake to mix. Keep sealed and store with your other spices.


After you have your taco seasoning prepared, you'll be ready to make my

  Crockpot Taco Soup! 

It cooks all day and is ready for you when you want it. It also freezes well, so don't worry about left overs. Adios for now!

Friday, May 4, 2018

Easy Peel Hardboiled Eggs

Don't you hate it when you are peeling hardboiled eggs and 1/2 the whites come off with the peel? Especially when you are trying to make deviled eggs. Instead of looking like perfect little egg boats, they are one unappetizing mess!

Well, there are just a couple of secrets to making

 hardboiled eggs 

that 

peel clean and easy every time.


1. Start with boiling water.
2. Add a Tbsp. of baking soda.

That's it! Just to be clear, following are the step by step instructions:

The water needs to cover all of the eggs you'll be cooking, so add eggs to your pan and add water to cover them at least 1/2 inch. Pull out the eggs and leave them on the counter (not back in the refrigerator.) Add a tablespoon or so of baking soda to the water, cover with a lid and bring the pot to a boil.


When the water is at a full boil, carefully lower each egg into the pot with a slotted spoon. Do this slowly giving each egg a little time to adjust to the water as it is lowered. This helps keeps the eggs from breaking during the cooking time.


Replace the lid, cocking it just a little and allow the water to return to boiling. Lower the heat, keeping it just hot enough to continue boiling. Set your timer for 10 minutes. At the end of 10 minutes, remove the pot from heat, remove the lid and let it sit for a few minutes.

Pour off the hot water and add cold tap water to the pot. Pour off this second pot of water and add another round of cold tap water. Add a couple handfuls of ice cubes and let the eggs sit 10-15 minutes.

That's it! You can use the eggs right away or dry them off and store in the refrigerator.

Happy Peeling!


Wednesday, May 2, 2018

Kombucha Bottles and How To Get Them Clean

Probably the most practical way to store kombucha that I have found is in a half gallon jar with a plastic lid. I use this type of container a lot.

Growlers work pretty well too.

But I really like a little fizz in my kombucha and the container you use for your secondary fermentation and storage really does impact this feature of your beverage. I can't explain the science behind it, but a narrow mouth, long neck bottle gives the best fermentation. (Think beer or wine bottles.)
The Best Kombucha Bottles

The problem with using a lot of these types of bottles is cleaning them. 

A regular bottle brush just doesn't fit into the opening! I've tried several cleaning methods but my daughter Emily discovered the best one yet:

A Refrigerator Brush!

This handy device is long enough to reach into tall bottles. It bends (and straightens) easily so you can manipulate it to reach the bottom edges and all the sloping sides of your favorite kombucha bottle!
The Best Kombucha Bottle Brush

You can find one easily at Walmart for under $5! 
https://www.walmart.com/ip/Quickie-HomePro-Refrigerator-Brush-27/21048601